How to Clean Headlights: A Practical Guide for Canadian Drivers
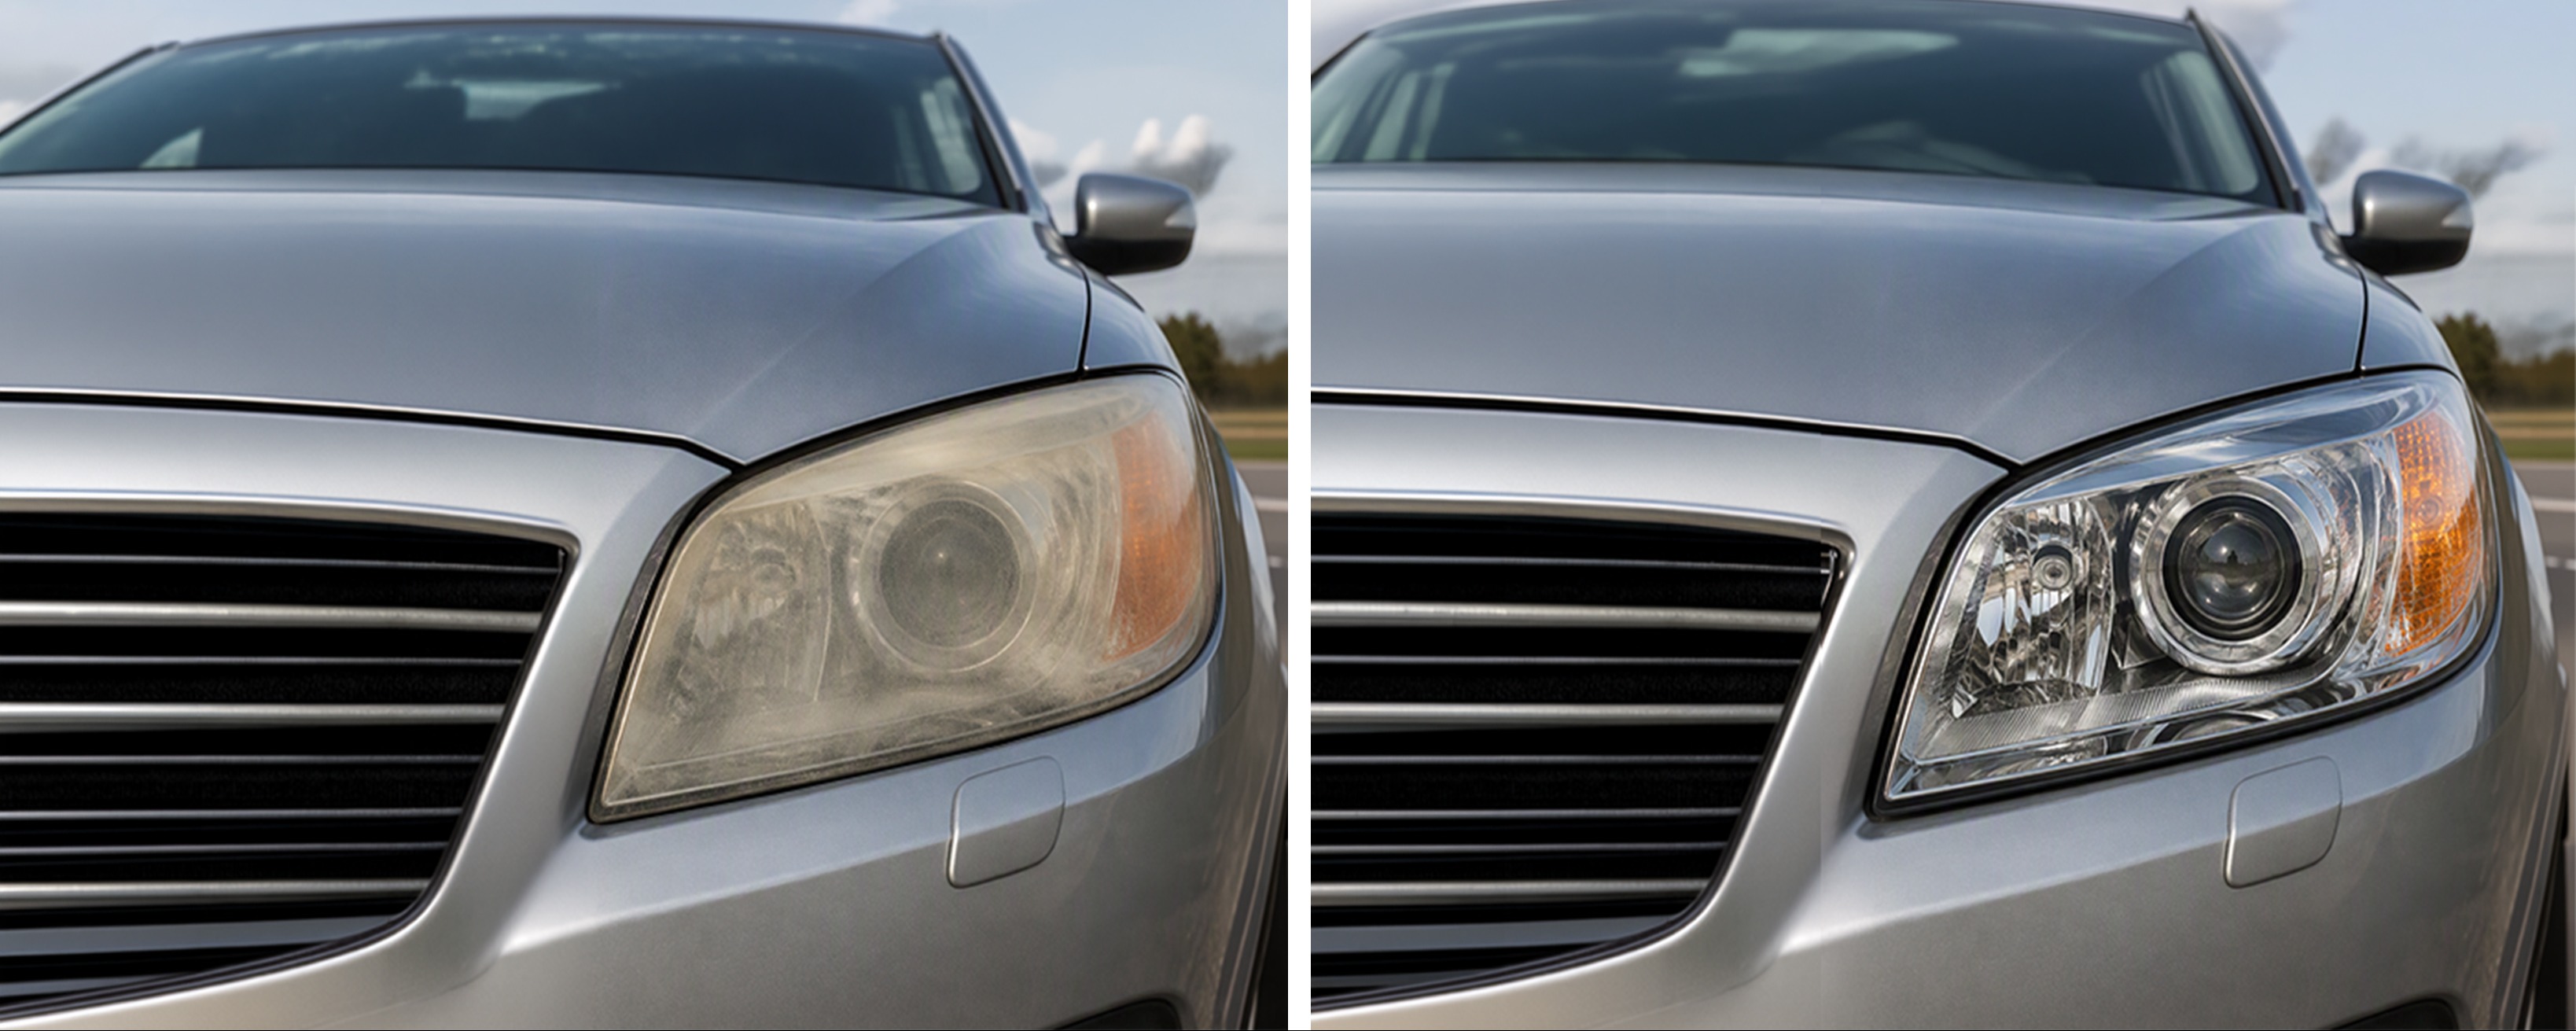
If your headlights seem to have gone from crystal clear to cloudy and yellow, you're not imagining things and you're definitely not alone. Between road salt, gravel kicked up on the highway, and months of freeze-thaw cycles, Canadian winters are tough on the plastic lens covering your headlights. The good news is that cleaning headlights properly is a weekend job most vehicle owners can handle themselves, often with common household products .
This guide explains why headlights become hazy, outlines ways to clean them (from quick fixes to full restoration), and shares tips to help keep them looking their best for longer.
Included in this article
Why do headlights get cloudy in Canada?
Most modern headlight lenses are made from polycarbonate plastic, not glass. This material is lightweight and impact-resistant, but vulnerable to UV exposure and oxidation over time. In Canada, that process gets a few extra pushes:
Road salt and brine used on winter roads leaves a fine residue that clings to the lens.
Gravel and sand from winter road treatments can pit and scratch the surface.
Freeze-thaw cycles stress the plastic and the protective coating on top of it.
Long summer sun exposure continues the UV damage started in winter.
Together, these factors can leave headlights looking hazy and yellowed. But the issue goes beyond appearance. Cloudy lenses scatter light instead of focusing it, cutting your effective visibility at night.
How to clean headlights: Step-by-step
What you'll need
Masking tape (painter's tape or automotive refinish masking tape)
A bucket of warm, soapy water and microfibre cloths
For light haze: Whitening toothpaste (or a paste of baking soda mixed with water)
For moderate to heavy oxidation: A headlight restoration kit
Sanding paper (400 and 600 grit), optional
Automotive wax or sealant
A clean, dry towel
Step 1: Start with a clean surface. Give both headlights a thorough wash with warm water and car soap to remove loose dirt, salt residue, and grime. Dry completely.
Step 2: Assess the damage. Light haze often responds to polish alone. Deeper yellowing or pitting usually needs a full restoration kit with a sanding stage.
Step 3: Protect the surrounding trim and paint. Tape those off to protect your bodywork from any abrasive product in the next steps. Avoid products such as cheap masking tape, duct tape and electrical tape.
Step 4: Use your chosen method.
a) Light haze: Apply cleaning paste or headlight polish with a microfibre cloth in small circular motions until the cloudiness lifts. If required, wet a sheet of 400 grit sanding paper and sand very carefully. Wipe residue off and repeat with wet 600 grit paper. Do not remove too much!
b) Moderate to heavy oxidation: Use a restoration kit's sanding pads, coarsest to finest grit, keeping the surface wet throughout. Rinse between grits.
Step 5: Seal it. A UV-protectant sealant is what keeps your work from clouding over again after a few months. Apply a thin, even coat and let it cure fully.
Step 6: Remove the tape and do a final wipe-down. Once cured, peel the tape and give the lens one last polish with a dry microfibre cloth.
Quick at-home options (for light cleaning only)
Baking soda paste: mixed with water, applied with a soft cloth, rinsed off
White vinegar: diluted with water, applied and buffed with a microfibre cloth
This is fine for light surface grime, but not a substitute for a proper restoration kit on real oxidation.
When to clean your headlights
A quick wash every time you clean your car keeps salt and grit from building up. A full restoration is more of an as-needed job. Most vehicle owners find they need it every one to three years, depending on winter driving and highway exposure.
When to replace the lens or assembly
If a headlight is cracked, has moisture trapped inside the housing, or the reflector has degraded, cleaning won't fix it. A replacement headlight assembly is the safer call at that point.
FAQ
Does cleaning cloudy headlights actually improve visibility?
Yes! Oxidized lenses scatter and dim light output, so removing the haze restores meaningful brightness, especially noticeable on dark rural roads.
Can toothpaste restore cloudy headlights?
Toothpaste is mildly abrasive and can help with very light haze, but it won’t remove heavy oxidation or provide UV protection.
How long does a headlight restoration last?
A basic at-home cleaning usually takes 20 to 40 minutes per headlight and can keep lenses looking clearer for several months. A full restoration, including sanding and the application of a quality UV sealant, can take up to an hour, but the results typically last one to two years.
Is it illegal to drive with cloudy headlights in Canada?
Provincial highway traffic laws establish vehicle lighting requirements, and most specify that headlights must function properly and provide adequate illumination. Rules vary by province, so be sure to check those that apply in your area. But whether the law requires it or not, restoring headlight clarity is a worthwile investment in both safety and driving confidence.
More Tips and Articles
View All Articles